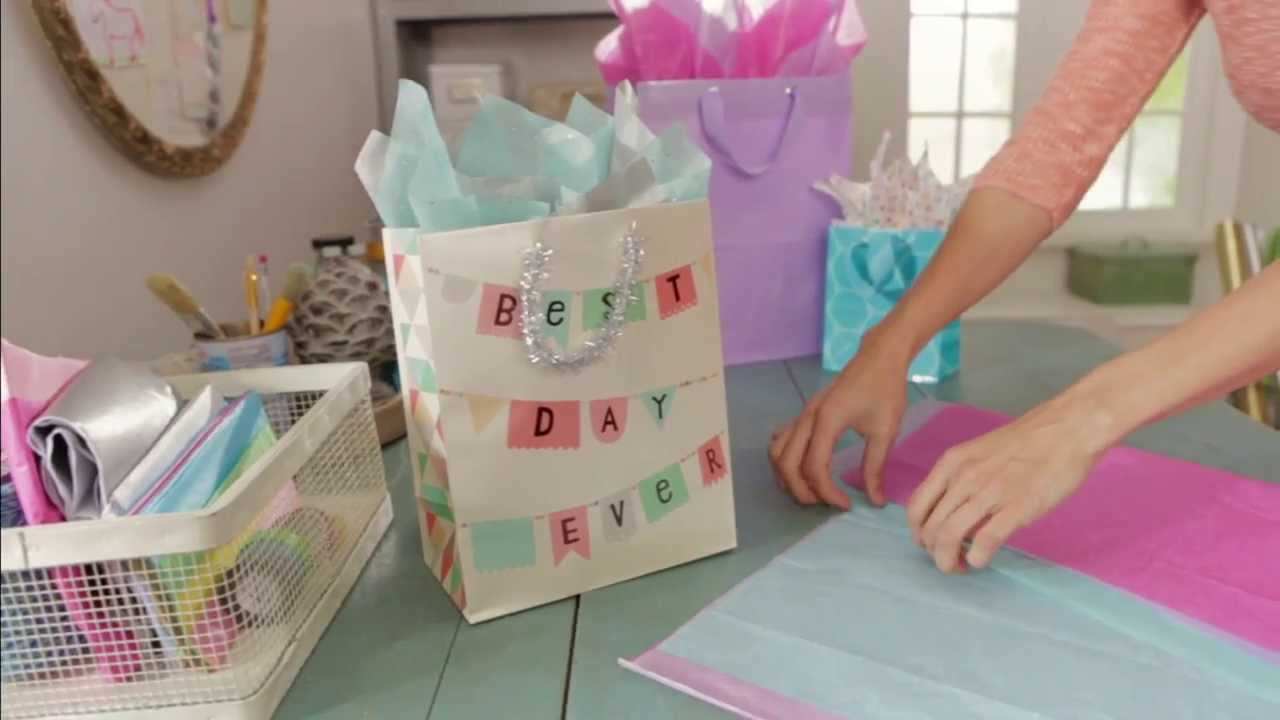
To put tissue paper in a gift bag, layer several sheets and fluff them. Place the fluffed sheets inside the bag.
Tissue paper adds a touch of elegance to any gift bag. It enhances the presentation and creates anticipation for the recipient. Start by choosing tissue paper that complements your gift bag. Use two or three layers for a fuller look.
Gently crumple and fluff each sheet to add volume. Position the tissue paper inside the bag, ensuring it peeks out over the top. This simple step transforms an ordinary gift bag into a visually appealing present. With practice, arranging tissue paper becomes an effortless task that elevates your gift-giving game.
Choosing The Right Tissue Paper
Pick colors that match the gift bag. Use bright colors for happy occasions. Darker colors are good for formal events. Patterns can make the gift look fun. Stripes, polka dots, and stars are popular patterns. Use holiday-themed tissue paper for Christmas or Easter. Mixing colors and patterns can look great too.
Always use high-quality tissue paper. Cheap tissue paper tears easily. Strong tissue paper keeps the gift looking nice. It also protects delicate gifts. Good quality tissue paper makes the gift feel special. It is worth spending a little extra.
Preparing The Gift Bag
Choose a gift bag that fits your present. It should not be too big or too small. The right size makes your gift look neat. Also, consider the shape of your gift. A flat item needs a different bag than a bulky one. This helps the tissue paper sit nicely inside.
Place a piece of cardboard at the bottom of the bag. This keeps the bag sturdy. The gift will sit better inside. It also prevents the bottom from tearing. Use a piece of cardboard that fits well. This simple step can make a big difference.
Folding Techniques
Create an elegant gift presentation by mastering tissue paper folding techniques. Fluff and layer tissue paper for a stunning effect in your gift bag.
Simple Fold
Take a sheet of tissue paper. Lay it flat on a table. Fold it in half. Make sure the edges align perfectly. Then, fold it once more. Now, the tissue paper is ready. Place it inside the gift bag. It will give a neat look.
Fan Fold
Spread the tissue paper on a flat surface. Start folding it like an accordion. Make small, even folds. Continue until the entire sheet is folded. Hold one end and let it fan out. Place it in the gift bag. The fan fold creates a fluffy effect.
Adding The Tissue Paper
Choose 3-4 sheets of tissue paper. Place them on top of each other. Offset the edges slightly. This creates a layered effect. Crinkle the sheets gently for extra volume. Your gift will look fuller and more festive.
Place the tissue in the center of the bag. Let the edges stick out. Tuck the bottom into the bag. Adjust the tissue for a balanced look. Fluff the tissue for a nice finish. This makes your gift look professional and inviting.
Securing The Gift
Enhance your gift presentation by artfully arranging tissue paper in a gift bag. Create a beautiful, layered look with contrasting colors. Secure the gift and elevate its visual appeal effortlessly.
Tissue Paper Cushioning
Place the gift in the center of the tissue paper. Wrap the paper gently around it. Make sure the gift is fully covered. This will provide a soft cushion. It will also protect the gift from damage.
Adding Extra Protection
Add another layer of tissue paper on top. This helps to cover any gaps. Use brightly colored tissue paper for a festive look. Gently tuck the edges inside the bag. This secures the gift and keeps it in place.
Finishing Touches
Adding tissue paper to a gift bag enhances its presentation. Start by placing a few sheets at the bottom. Then, gently crumple additional sheets and tuck them around the gift for a polished look.
Fluffing The Tissue
Gently pull the tissue paper up. This will create a fluffy look. Make sure each sheet is separated. Spread them evenly to avoid gaps. Fluff until the tissue looks full and lively.
Arranging Over The Top
Place the gift in the bag. Arrange the tissue around the gift. Let some tissue stick out from the top. This adds a nice touch. It also hides the gift inside. Adjust the tissue to make it look balanced.
Decorative Elements
Ribbons and bows make gifts look special. Choose a ribbon that matches the gift bag. Tie the ribbon into a pretty bow. Attach the bow to the handle of the gift bag. Make sure the bow is secure. Use different colors for a fun look. Add more than one bow if you like.
Gift tags and cards add a personal touch. Write a nice message on the card. Attach the card to the ribbon. Use a hole punch to make a hole in the tag. Thread the ribbon through the hole. Secure the tag to the gift bag. The tag should be easy to see.
Troubleshooting Common Issues
Tears and wrinkles in tissue paper can ruin the look of your gift bag. Gently smooth out the paper with your hands. For small tears, use a piece of clear tape to mend them. Place the tape on the inside of the tissue paper. This way, it won’t be visible.
Uneven layers of tissue paper may look messy. First, lift the top layer gently. Then, adjust it so it sits evenly. Do this for each layer until they all look neat. Using a ruler can help keep the layers straight. Place the ruler on top and press down lightly.
Frequently Asked Questions
How Do You Fold Tissue Paper For A Gift Bag?
Fold the tissue paper in half, then in half again. This creates a smaller square that fits neatly into the gift bag.
How Many Sheets Of Tissue Paper Should I Use?
Typically, 2-3 sheets of tissue paper are enough. This provides a nice, full look without overwhelming the gift.
What Color Tissue Paper Should I Choose?
Choose tissue paper that complements the gift bag and occasion. Matching or contrasting colors work well for a visually pleasing presentation.
Can I Reuse Tissue Paper For Gifts?
Yes, you can reuse tissue paper if it’s in good condition. Smooth out any wrinkles before placing it in the gift bag.
Conclusion
Mastering the art of placing tissue paper in a gift bag enhances your gift presentation. It adds an extra touch of thoughtfulness. Follow these simple steps for an elegant look. Make your gifts stand out and delight the recipient. Practice makes perfect, so don’t hesitate to get creative.