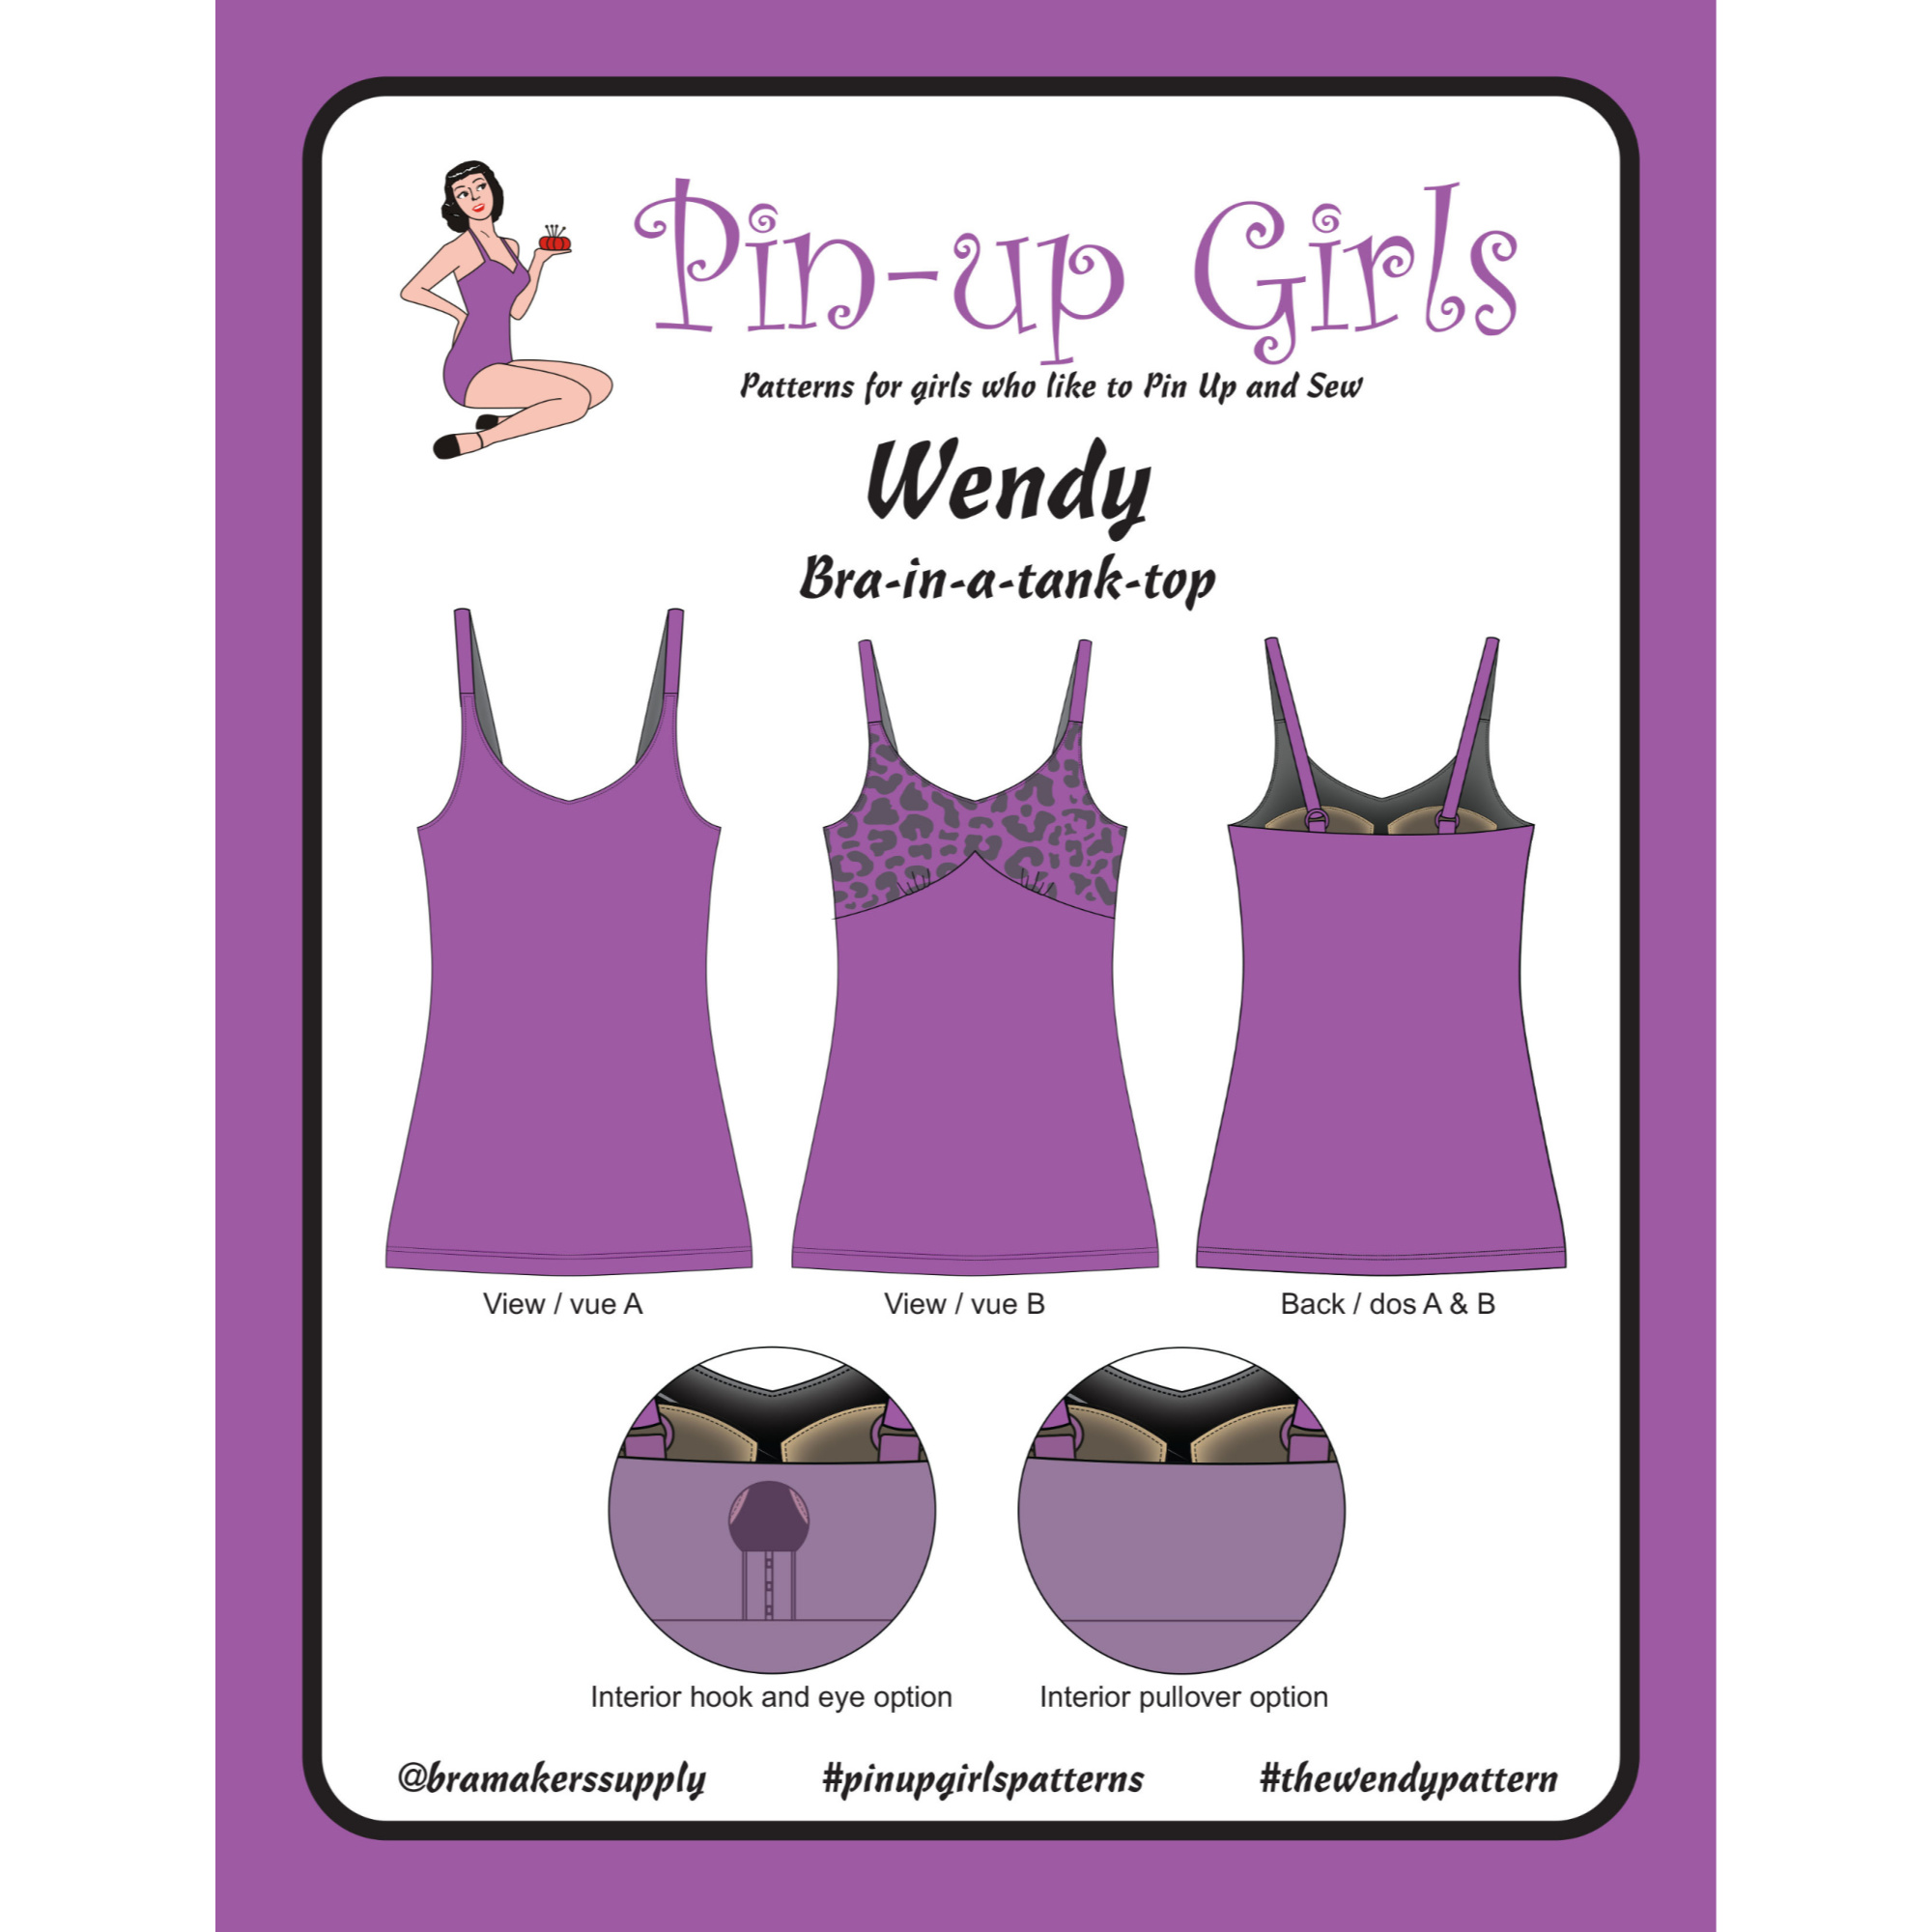
Sewing a cami with a built-in bra can be a fun and rewarding project. It combines comfort and style, making it a versatile addition to any wardrobe.
Creating your own cami with a built-in bra offers unique benefits. You get to choose the fabric, ensuring a perfect match for your skin and style. Plus, a custom fit means better support and comfort compared to store-bought options. This project is great for both beginners and experienced sewers.
You’ll learn new techniques and gain confidence in your sewing skills. Whether you’re aiming for a casual look or something more elegant, a handmade cami with a built-in bra can be a delightful addition to your clothing collection. Ready to start? Let’s dive into the basics and get you sewing!
Credit: www.lovenotions.com
Introduction To Cami Built-in Bra
The cami built-in bra is a versatile piece in any wardrobe. It combines the look of a camisole with the support of a bra. This unique garment offers comfort and style in one.
Purpose And Benefits
The primary purpose of the cami built-in bra is convenience. It eliminates the need for a separate bra. This means fewer layers and a smoother silhouette. Plus, it saves time when getting dressed.
Another benefit is comfort. The built-in bra provides support without the tightness of traditional bras. It’s especially comfortable for lounging or casual outings. The cami is also versatile. Wear it under jackets, cardigans, or even alone during warm weather.
Lastly, it promotes confidence. The cami built-in bra offers a snug fit and support. This helps maintain a polished look throughout the day.
Who Can Wear
Anyone can wear a cami built-in bra. It’s suitable for all body types and sizes. Women who prefer minimal layers will appreciate this garment. It’s also great for those who seek comfort without sacrificing style.
Teenagers can benefit from the cami built-in bra too. It’s an excellent choice for beginners who are new to bras. This garment combines modesty and support in one piece.
Women with active lifestyles will find it practical. The cami built-in bra can serve as a light sports bra. It’s ideal for low-impact activities like yoga or walking.
Elderly women may also find it beneficial. The ease of wear and comfort make it a great addition to their wardrobe. No more fumbling with multiple layers or hooks.
Choosing The Right Fabric
Choosing the Right Fabric is crucial for creating a comfortable and stylish sewing pattern cami with a built-in bra. The fabric you select impacts the breathability, stretch, and overall fit of the cami. Below are some essential considerations to help you pick the best fabric for your project.
Breathable Options
For a cool and comfortable cami, breathable fabrics are essential. These fabrics allow air to circulate, which reduces sweating and keeps you feeling fresh. Consider the following breathable fabric options:
- Cotton: Soft, absorbent, and widely available. Ideal for everyday wear.
- Linen: Lightweight and breathable. Perfect for hot weather.
- Bamboo: Eco-friendly and moisture-wicking. Keeps you cool and dry.
Stretch And Comfort
For a cami with a built-in bra, stretch and comfort are key. The fabric should offer flexibility to accommodate body movements and provide a snug fit. Consider these stretchy fabric options:
- Jersey Knit: Soft, stretchy, and easy to sew. Great for form-fitting camis.
- Spandex: High stretch and recovery. Often blended with other fibers.
- Modal: Smooth, stretchy, and comfortable. Maintains shape after washing.
Choosing the right fabric ensures that your cami is not only stylish but also comfortable and functional.
Essential Sewing Tools
Sewing a cami with a built-in bra is an exciting project. To ensure success, having the right tools is crucial. The right tools not only make the process easier but also ensure a professional finish. This section will cover the essential sewing tools you’ll need.
Basic Sewing Kit
A basic sewing kit forms the foundation of your sewing tools. Here are the essentials:
- Needles and Thread: Different sizes for various fabrics.
- Pins and Pin Cushion: Keep fabric pieces in place.
- Scissors: Sharp ones for cutting fabric.
- Measuring Tape: Accurate measurements are key.
- Seam Ripper: Fix mistakes easily.
These tools are the basics. They are useful for any sewing project.
Specialized Tools
For a cami with a built-in bra, specialized tools are helpful. Here are some:
- Rotary Cutter: Makes cutting fabric faster and more precise.
- Fabric Marker: Mark placements for darts and seams.
- Tailor’s Chalk: Temporary marks for adjustments.
- Elastic Thread: Necessary for the built-in bra support.
- Bodkin: Threading elastic through casings smoothly.
These specialized tools make sewing a cami with a built-in bra easier. They help achieve a professional finish. Invest in good quality tools for better results.
Taking Accurate Measurements
Taking accurate measurements is crucial for sewing a well-fitting cami with a built-in bra. This ensures the garment hugs your body perfectly, providing comfort and support. In this section, we will guide you through measuring your bust, underbust, length, and fit. Follow these steps to achieve the best results.
Bust And Underbust
First, measure around the fullest part of your bust. Use a soft measuring tape. Keep it straight and level. Write down this measurement. Next, measure your underbust. Place the tape directly under your bust. Ensure it is snug but not tight. Record this measurement too. These measurements are essential for a perfect fit.
Length And Fit
Next, measure the length from your shoulder to your desired hemline. This is especially important for a cami. Decide how long you want it. Keep the tape measure straight. Note this length.
To ensure a good fit, check the pattern against your measurements. Adjust the pattern if necessary. This ensures the cami fits your body shape. Always double-check your measurements before cutting fabric.
Creating The Pattern
Designing a sewing pattern for a cami with a built-in bra involves precise measurements. This ensures a comfortable and supportive fit.
Creating a sewing pattern for a cami with a built-in bra can be fun. You get to combine comfort and style in one garment. This guide will help you understand the steps needed to create this pattern. ###
Drafting The Cami
First, take your body measurements. Measure your bust, waist, and hips. Write these numbers down. Next, choose a fabric with a slight stretch. This will ensure a comfortable fit. Now, draw a basic cami pattern on paper. Start with a rectangle. The width should be half your bust measurement plus 1 inch. The length should be from the top of your shoulder to your waist. Add an extra 2 inches for seam allowances. Shape the neckline by drawing a gentle curve at the top. Mark 2 inches down from the top on each side. Then, draw a curve connecting these points. For the armholes, mark 3 inches in from each side. Draw a slight curve to connect the top edge to the side. ###
Adding The Built-in Bra
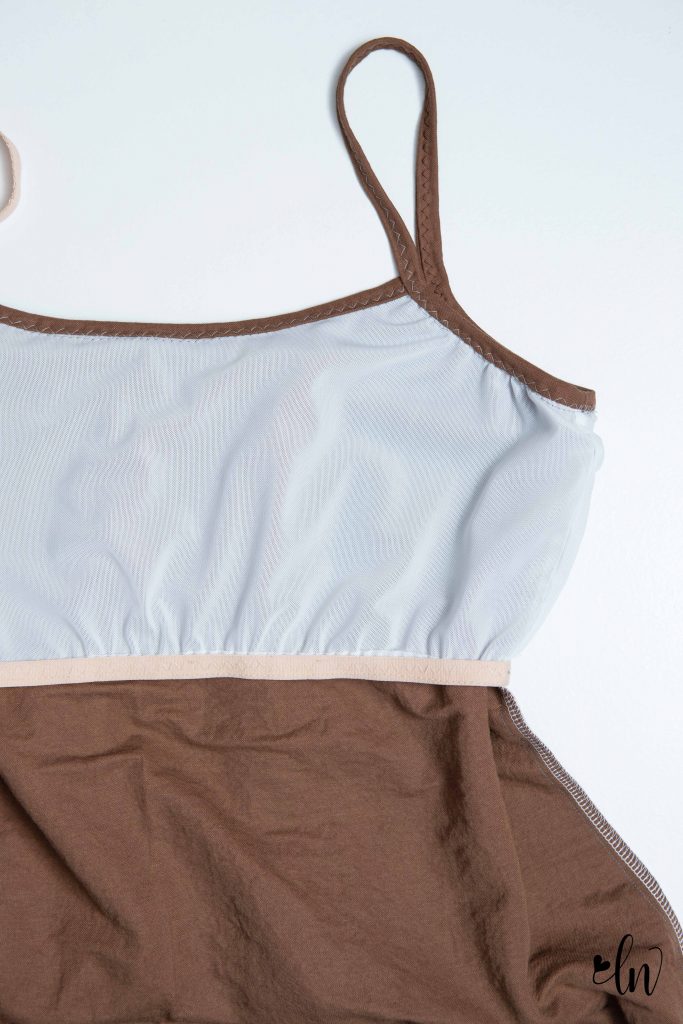
To add a built-in bra, you need a separate pattern piece. Measure your bust again. This time, measure just below your bust. Draw a rectangle for the bra piece. The width should be half your bust measurement plus 1 inch. The height should be from your bust to just below it. Attach the bra piece to the front of the cami. Align the top edges and pin them together. Sew along the pinned edge. Add elastic under the bust for support. Measure a piece of elastic to fit snugly under your bust. Sew it to the bottom of the bra piece. Now, sew the side seams of the cami and bra together. Make sure the elastic is stretched as you sew. This will help the bra fit snugly. Finally, finish the edges of the cami. Fold the raw edges over and sew them down. This will give your cami a neat and professional look.
Cutting And Preparing Fabric
Sewing your Cami with a built-in bra begins with proper fabric preparation. Cutting and preparing fabric might seem simple, but it is crucial for a great fit and finish. Let’s walk through the steps to ensure your sewing project starts on the right foot.
Pattern Placement
First, lay your fabric on a flat surface. Ensure it is smooth and free of wrinkles. Place your pattern pieces on the fabric. Align them with the grainline as indicated. This ensures your fabric stretches correctly. Be mindful of any directional prints or textures. They should align consistently for a professional look.
Use pins or pattern weights to secure the pattern pieces. This prevents shifting while cutting. Double-check the placement before proceeding. Small adjustments can make a big difference in the final garment.
Cutting Techniques
Now, grab your fabric scissors. Sharp scissors are essential for clean cuts. Start cutting along the edges of the pattern. Follow the lines precisely. Take your time to ensure accuracy.
If using a rotary cutter, use a cutting mat underneath. This protects your table and keeps cuts clean. Steady your hand and follow the pattern lines closely.
For curved edges, cut slowly and carefully. This maintains the shape and fit of the garment. Use small snips for intricate details. These small cuts help navigate tight corners and curves.
After cutting, remove the pattern pieces. Mark any notches or darts as indicated. Use a fabric marker or tailor’s chalk. These marks guide you during sewing and assembly.
With your fabric cut and prepared, you are ready to move on to sewing. Enjoy the process and take pride in your work!
Sewing The Cami
Sewing the cami can be a fun and rewarding experience. This project is great for both beginners and experienced sewers. Follow these steps to create a beautiful cami with a built-in bra. Start by gathering your materials and setting up your sewing machine. Let’s dive into the process.
Stitching The Seams
Begin by stitching the side seams of the cami. Use a straight stitch for clean lines. Align the fabric edges carefully before sewing. This ensures a neat finish. Pin the fabric to keep it in place. Sew slowly to maintain straight seams. Backstitch at the beginning and end of the seams. This strengthens the stitches.
Next, sew the shoulder seams. Again, use a straight stitch. Ensure the edges align perfectly. Pin the fabric if needed. Sew slowly and backstitch at both ends. This keeps the seams secure.
Attaching The Bra
Now, it’s time to attach the bra. Position the bra inside the cami. Align the edges carefully. Pin the bra to the cami to secure it. Sew around the edges using a zigzag stitch. This allows for stretch and comfort.
Sew the straps of the bra to the cami. Ensure the straps are even. Use a straight stitch for this part. Backstitch at the ends to keep the straps secure. Check the fit and make adjustments if needed. Enjoy your new cami with a built-in bra!
Credit: www.braandcorsetsupplies.com
Finishing Touches
The final steps of sewing your Cami with a built-in bra are crucial. These finishing touches ensure your piece looks polished and professional. They add to the comfort and fit of your garment. Let’s break down these steps.
Hemming The Edges
First, focus on hemming the edges. This step prevents fabric fraying. Fold the raw edge over twice and pin it in place. Use a straight stitch to sew the hem. Make sure your stitches are even and neat. This gives a clean finish to your cami.
Adding Straps
Next, add the straps. Measure the length you need for a comfortable fit. Cut two strips of fabric for the straps. Fold each strip in half lengthwise and sew along the edge. Turn the straps inside out to hide the seam. Attach the straps to the top of the cami. Ensure they are secure and evenly spaced. This completes your project with a professional touch.
Styling Your Cami
The Cami Built-in Bra sewing pattern is versatile. It offers a mix of comfort and style. You can wear it alone or layer it with other pieces. This guide will help you make the most of your cami.
Layering Ideas
Layering your cami can create different looks. Here are some ideas:
- Under a Blazer: Wear your cami under a fitted blazer. This look is perfect for the office or a night out.
- With a Cardigan: Pair your cami with a cozy cardigan. This combination is great for a relaxed, casual look.
- Over a Long-Sleeve Shirt: For a trendy style, wear your cami over a long-sleeve shirt. Choose contrasting colors for a bold effect.
Accessorizing
Accessories can elevate your cami. Here are some tips:
- Jewelry: Pair your cami with a statement necklace or a delicate chain. Bold earrings can also draw attention.
- Scarves: Add a colorful scarf for a pop of color. This is ideal for cooler weather.
- Belts: A slim belt can define your waist. This works well with high-waisted pants or skirts.
Care And Maintenance
Proper care and maintenance of your Sewing Pattern Cami Bilt-in Bra ensure its longevity and comfort. With the right techniques, you can keep your garment looking and feeling like new. Follow these simple guidelines for washing, storing, and maintaining your cami bra.
Washing Tips
Wash your cami bra in cold water to prevent fabric damage. Use a mild detergent that is gentle on delicate fabrics. Hand washing is recommended, but if you use a machine, place the cami in a mesh laundry bag. Avoid bleach as it can weaken the fibers. Rinse thoroughly to remove all detergent residue. Gently squeeze out excess water, but do not wring the fabric.
Storage Solutions
Store your cami bra in a cool, dry place away from direct sunlight. Lay it flat or fold it gently to maintain its shape. Use drawer dividers to keep your cami organized and prevent it from getting tangled with other garments. Avoid hanging it on hooks, as this can stretch the straps and fabric.
By following these simple care and maintenance tips, you can enjoy your Sewing Pattern Cami Bilt-in Bra for a long time. Keep it clean, store it properly, and it will remain a staple in your wardrobe.

Credit: m.youtube.com
Frequently Asked Questions
What Is A Cami With Built-in Bra?
A cami with built-in bra is a camisole with an integrated bra. It offers support without needing a separate bra.
How Do You Sew A Cami With Built-in Bra?
To sew a cami with built-in bra, you need a pattern, fabric, and elastic. Follow step-by-step instructions for assembly.
What Fabric Is Best For A Cami With Built-in Bra?
Cotton, spandex, or jersey are best for a cami with built-in bra. These fabrics offer comfort and stretch.
Conclusion
Creating your own sewing pattern for a cami with a built-in bra is rewarding. It’s a fun project. You get a custom fit. No more ill-fitting store-bought camis. Follow these steps and enjoy sewing. Experiment with fabrics and designs. Make a few for variety.
Share your creations with friends. They might want one too. Keep practicing and improving. Happy sewing!